|
Assembly
For the first stage of assembly, I decided it would be best to get the drives in place as that would likely be the most difficult part. At this point in the build, I was still waiting for the Reservoir to show up, and FrozenCPU shipped me a Maze 4 GPU block instead of the Chipset block I had ordered which was going to make this a two weekend build.
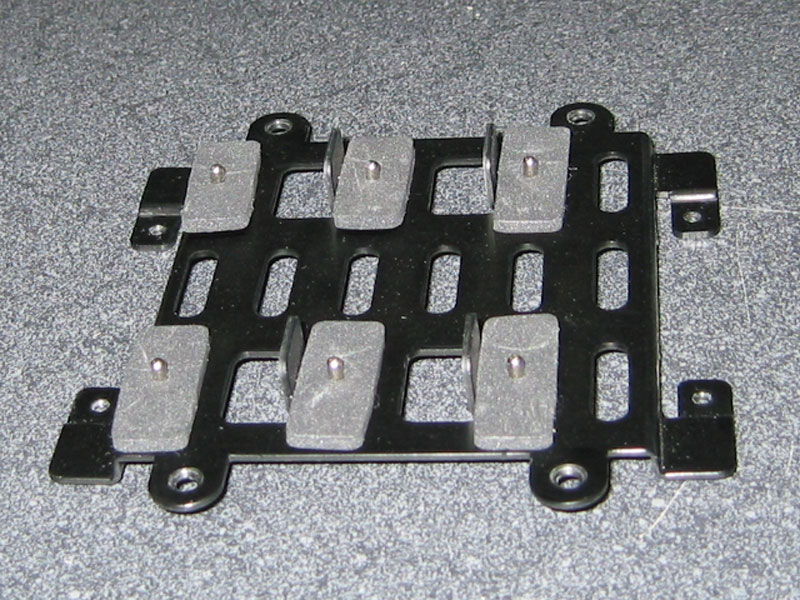
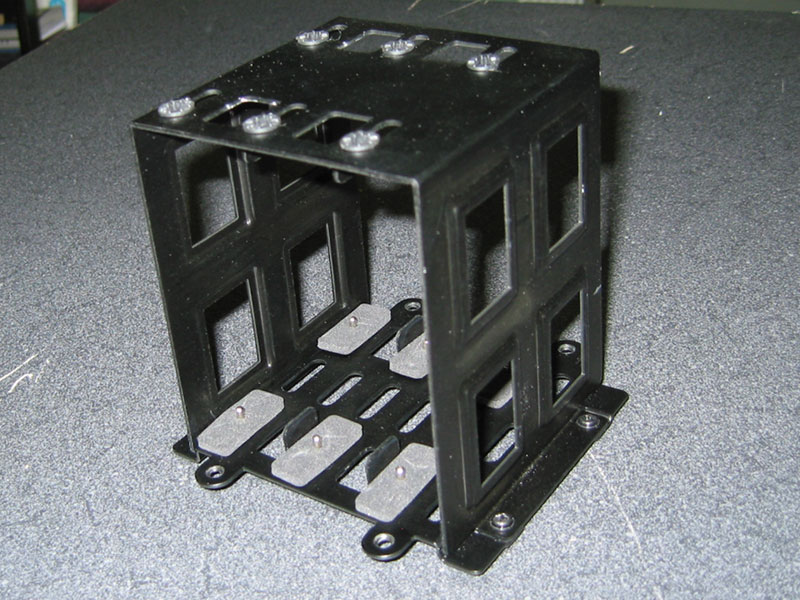
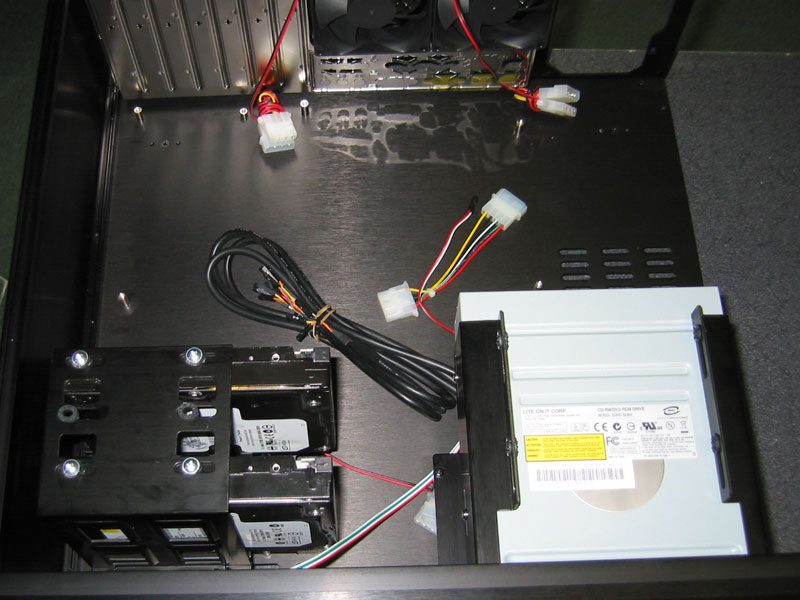
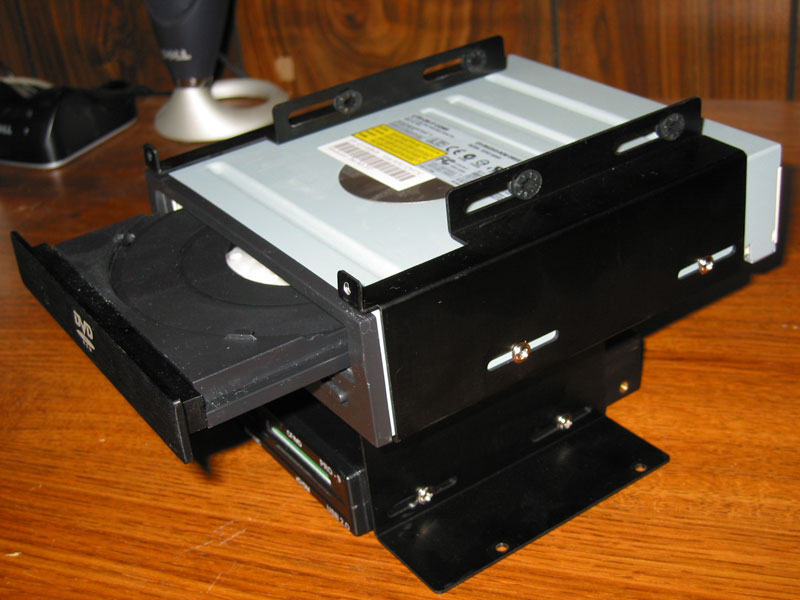
I started by assembling the drive cage for the Hard Drives. The cage breaks into two separate pieces. The bottom portion has pegs that the Hard Drives rest on and then they bolt to the top part of the cage. It took a bit of time to get the drives mounted properly as there are rubber grommets to reduce vibration and they have to be positioned directly above the screw holes in the Hard Drives. To simplify wire management, the OS Drive will sit above the DVD Drive.
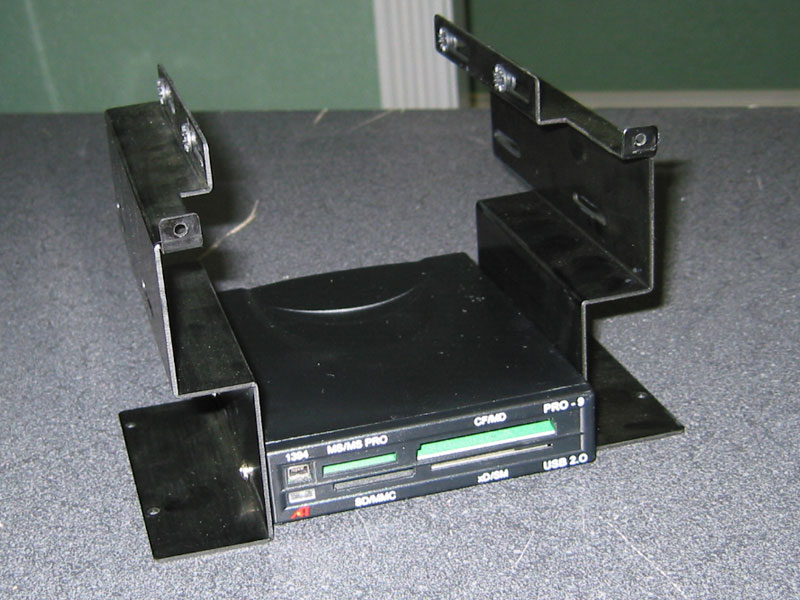
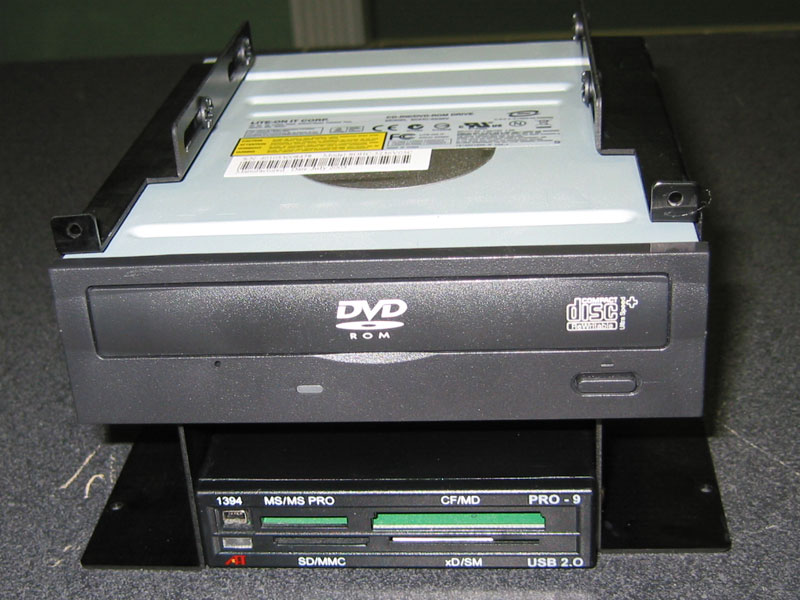
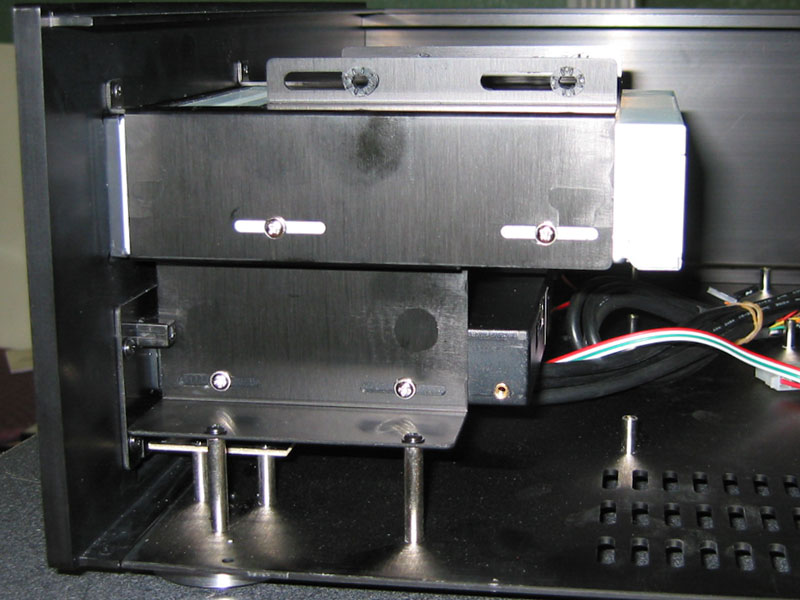
The other cage is also split into two pieces which was a bit unnerving as it was difficult to get all of the screw holes to line up properly. A total of six screws keep this cage in place: Four at the base, and two above the Optical Drive. I first mounted the card reader in the bottom bay and then I mounted the DVD ROM. I did not tighten up the screws so I could properly position the drives once inside the case.
This part of the assembly proved to be quite difficult at first. As I mentioned before, there are six screws that mount the cage and they all have to line up exactly for everything to sit properly. I had trouble with this until I discovered that I could remove the side panel! I had to remove six screws from the top, back, and bottom of the case to get the side panel off. From the looks of it, you can completely disassemble this case which is a very nice touch.
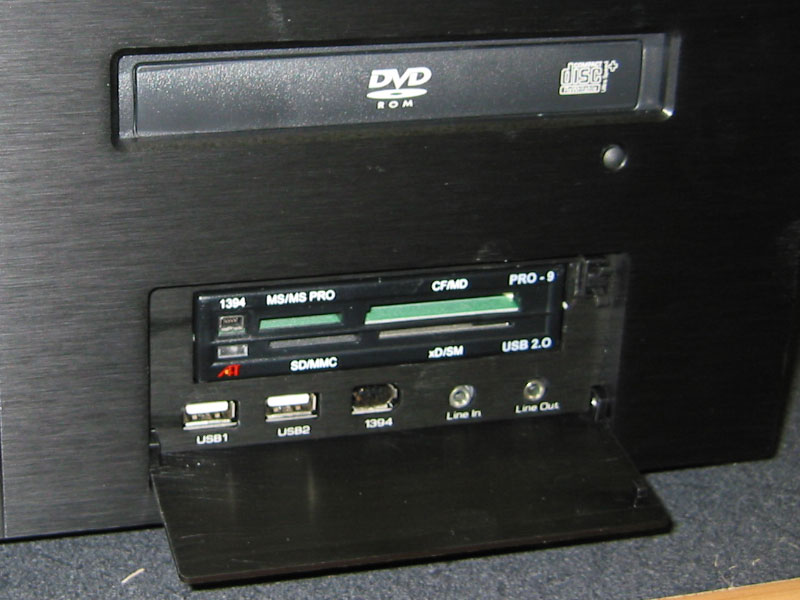
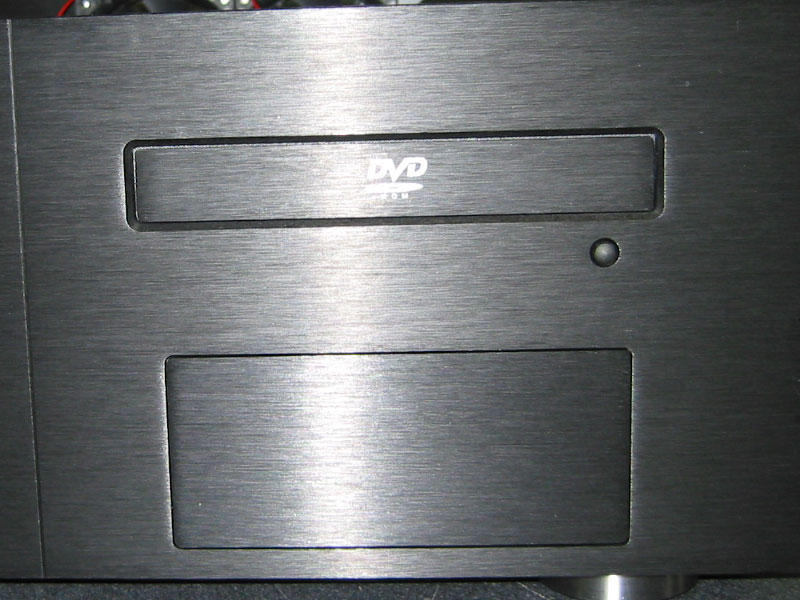
Getting the DVD drive positioned perfectly took a bit of trial and error. On the front of the case there is a small button that is supposed to be able to hit the eject button on the DVD Drive. If the drive was too far forward, the button would not work properly. After positioning the drive properly, I tightened the screws and went about mounting the replacement bezel. I had to remove the existing front bezel and attach the new one with a piece of double sided tape. It would have been nice if they would have included a second piece in case you ever change drives.
|