|
Final Assembly
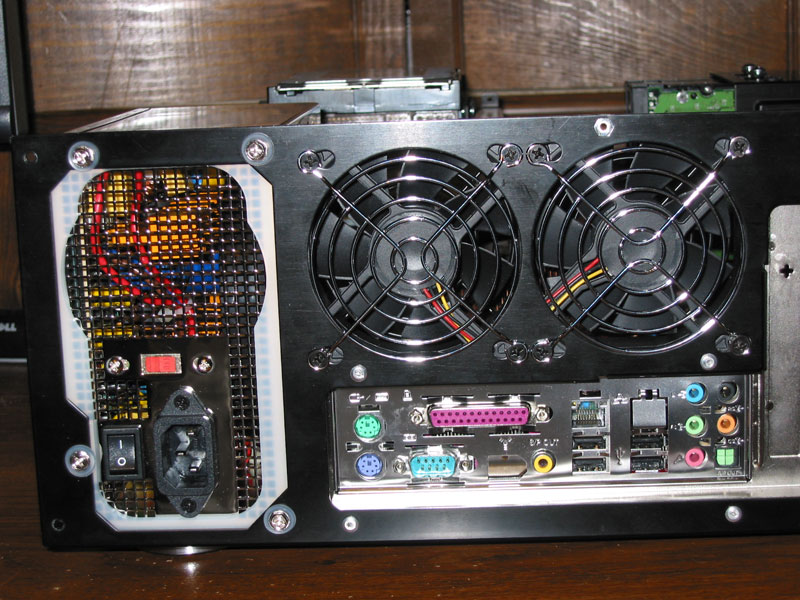
Next, I bolted the back panel to the bottom panel. This proved to be a bit tricky to get the back panel to line up exactly with the I/O Ports. Then I installed the Power Supply and the Noise Isolator for the PSU.
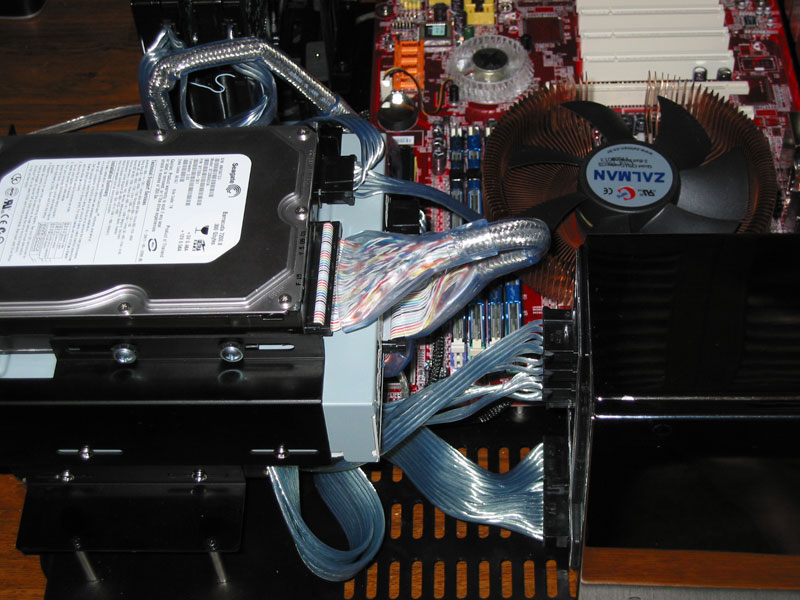
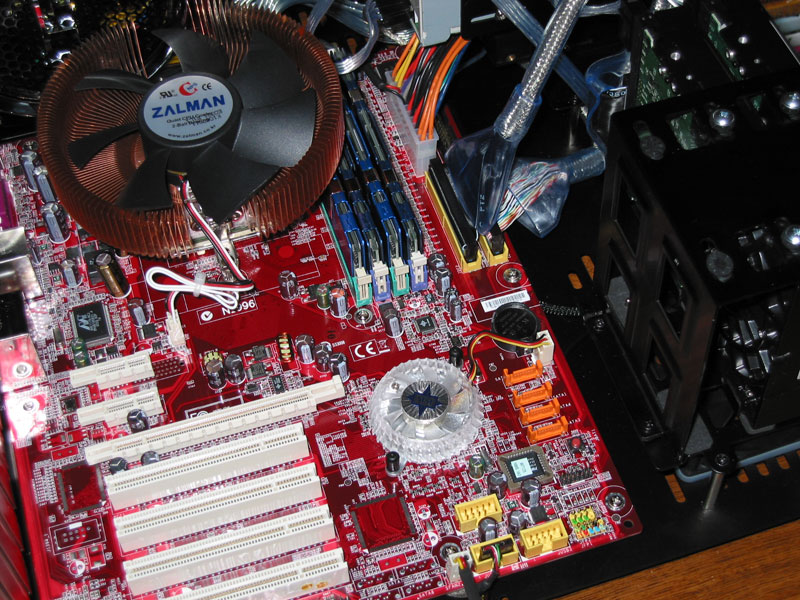
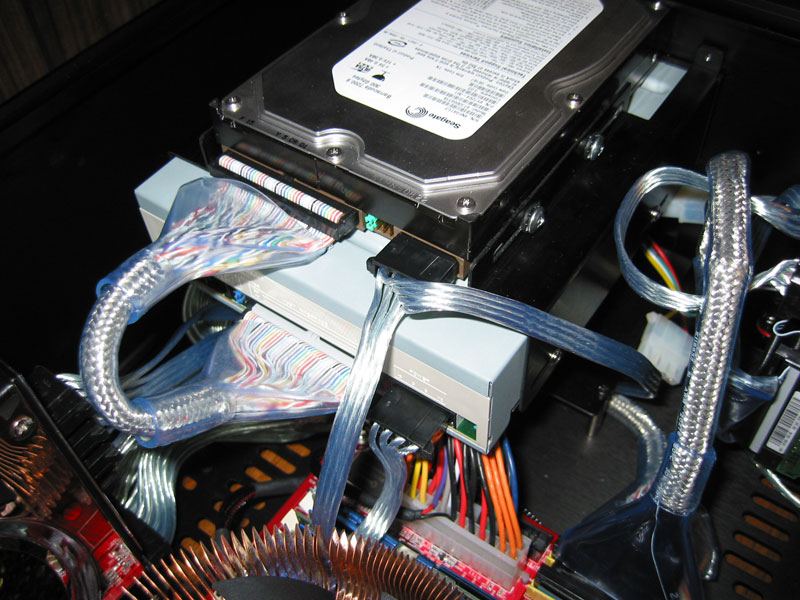
The next task was to run Power Cables. Most of them were routed underneath the Drive Bays and Motherboard. The ATX cable was a bit tough to route as it is way too long. Hopefully Ultra will release a shorter cable like they did with the original X-Connect.
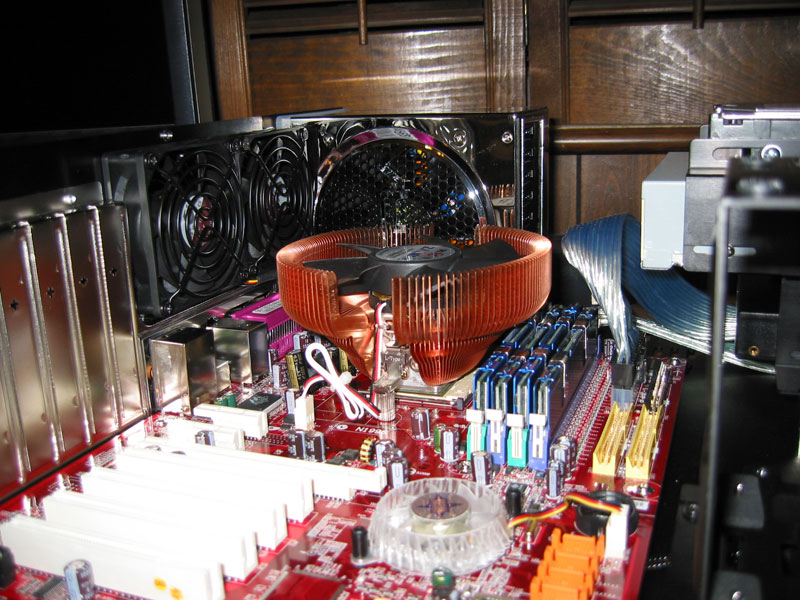
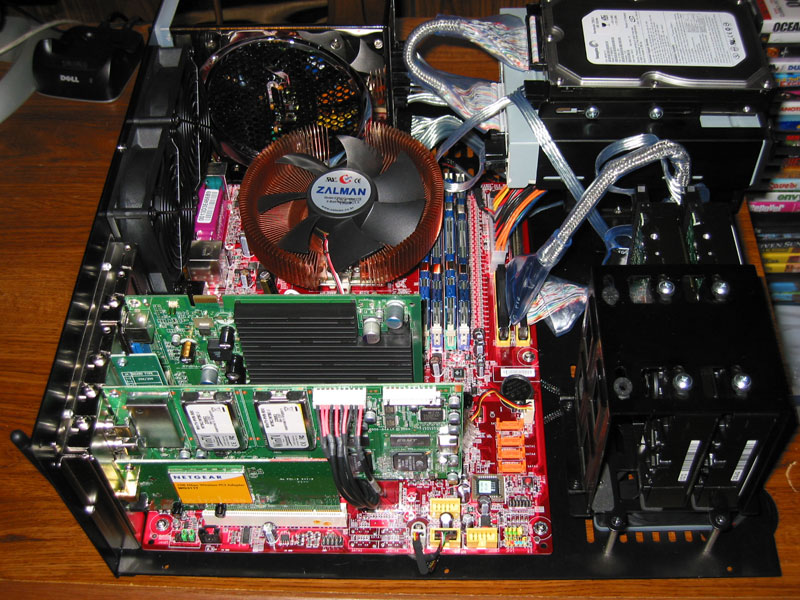
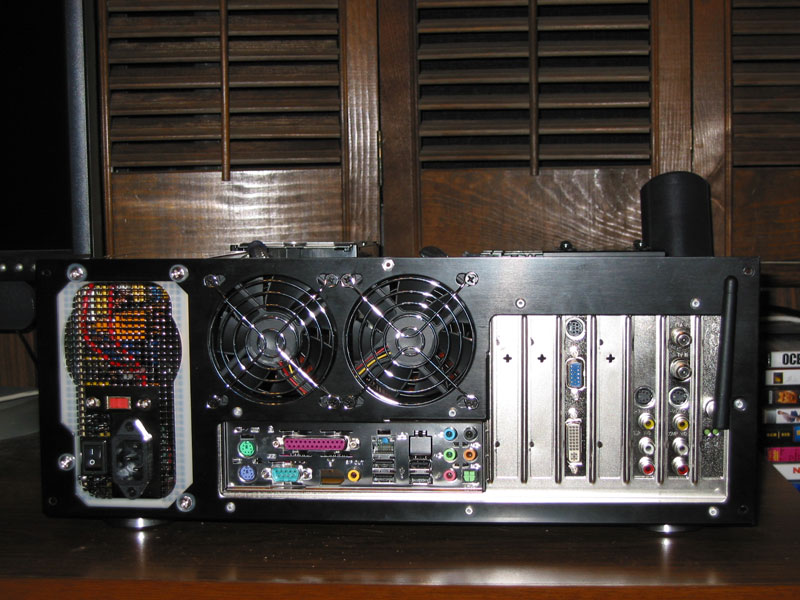
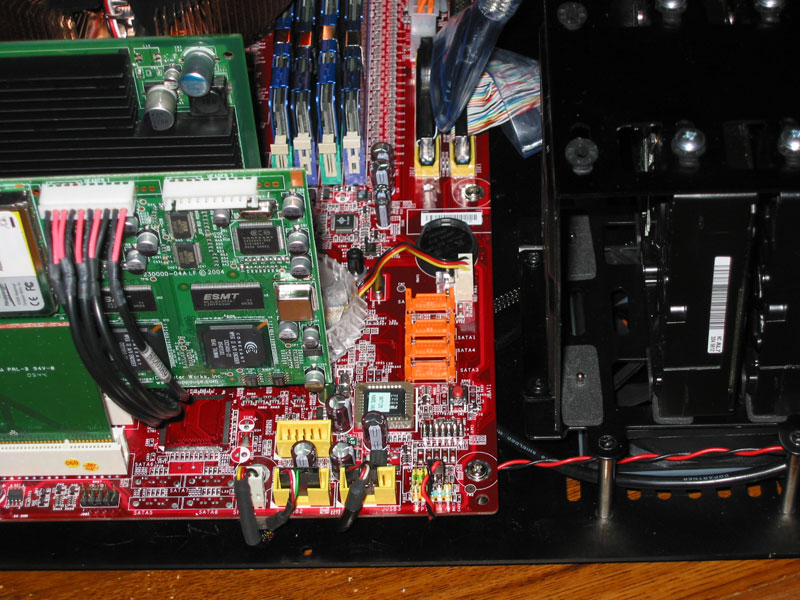
I next connected the USB cable for the Card Reader and installed the Expansion Cards. The home stretch is near. In the last shot you can see three open expansion bays. The left one will be unusable because of the Radiator. The next one over will have a pass-through bracket for the tubing. The final bay will be used for a Soundcard or HDTV Tuner.
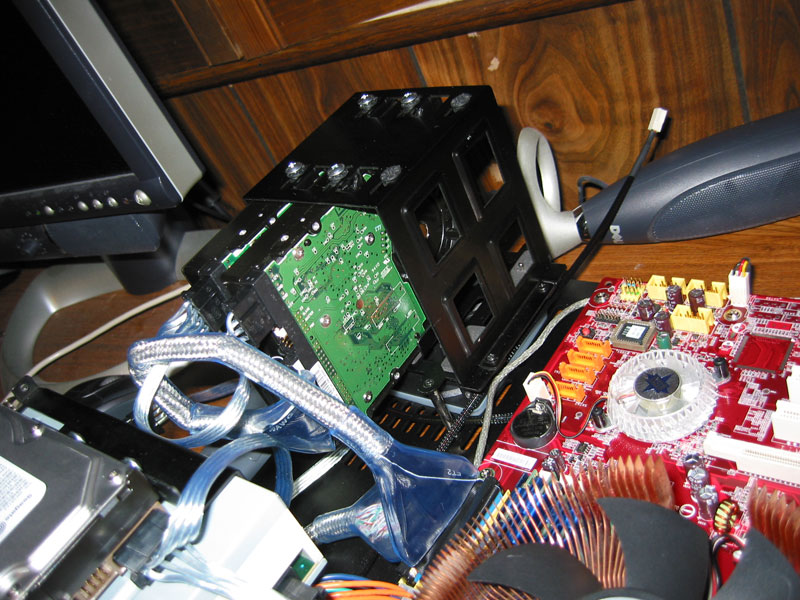
The final task was to wire up the VFD. The VFD turned out to be the weakest link of the case. The cable for the Power Switch needed to be connected to the VFD and a pass-through cable was to be used to connect the VFD to the Motherboard. These connectors were not labeled and I had to check the documentation located on the CD to find out what connected where. Now comes the most asinine part of the build. Notice the large capacitor below the two cables on the left side of the VFD. I had to bend this capacitor up to get the cables on the pins. And to make matters worse, there are solder points directly in between the pins preventing you from connecting the cables. I had to bend these pins up as well to get the cables connected. After getting the wiring situated I mounted the front panel on the case and connected the cables to the Motherboard. The only Motherboard connections are the Power Switch and one USB header.
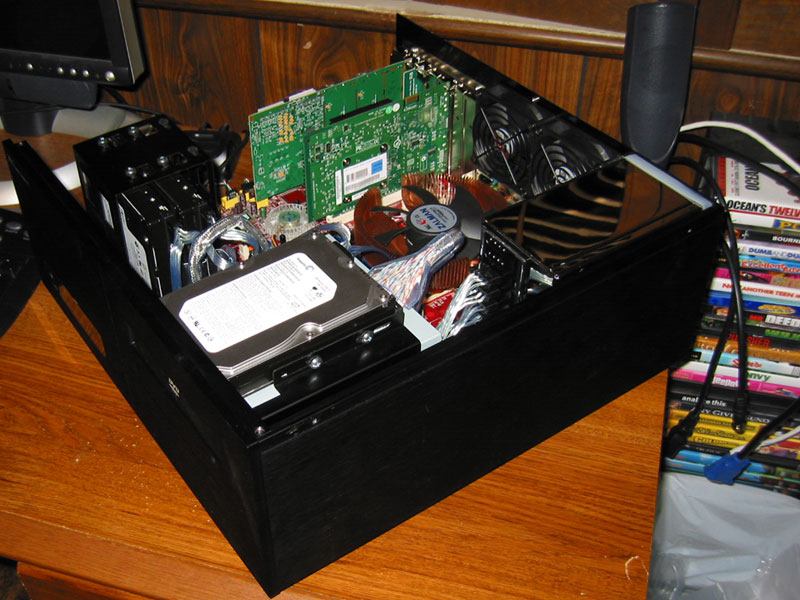
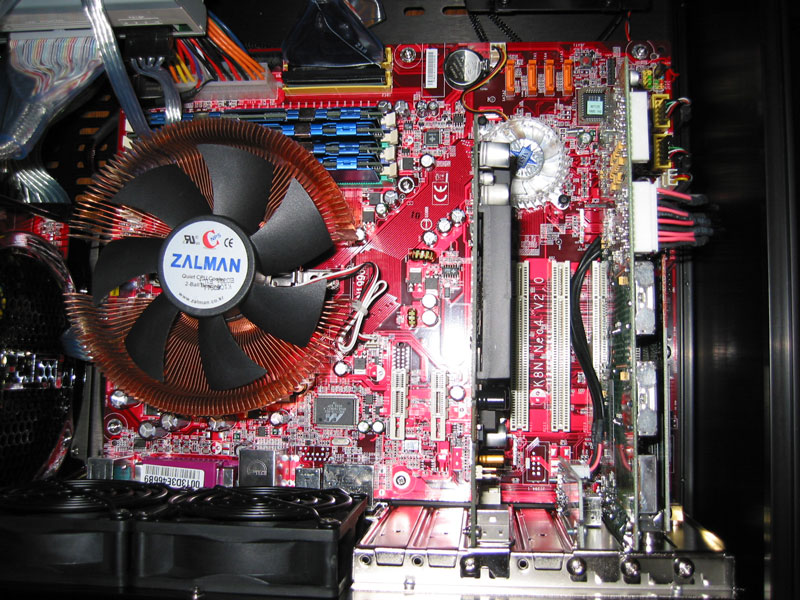
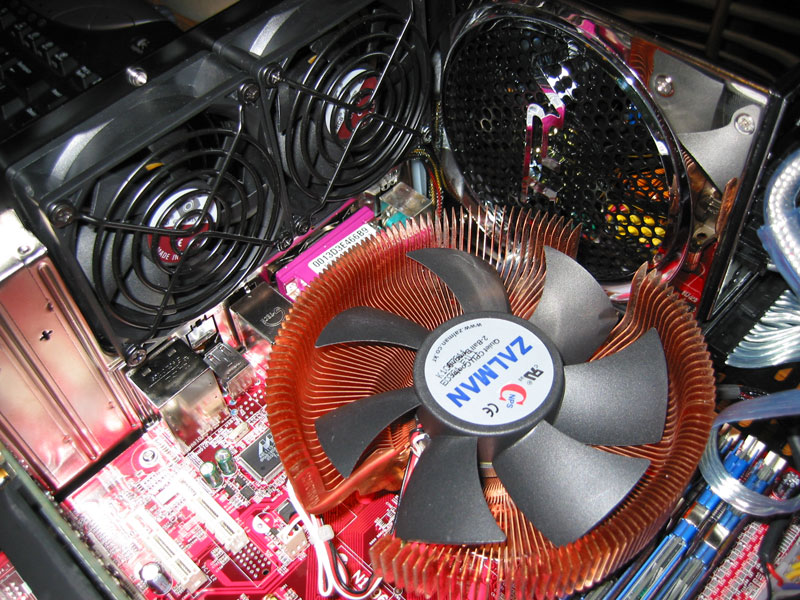
With the front panel installed, all that was left was to mount the side panels. Here are some shots of the build at this point.
|